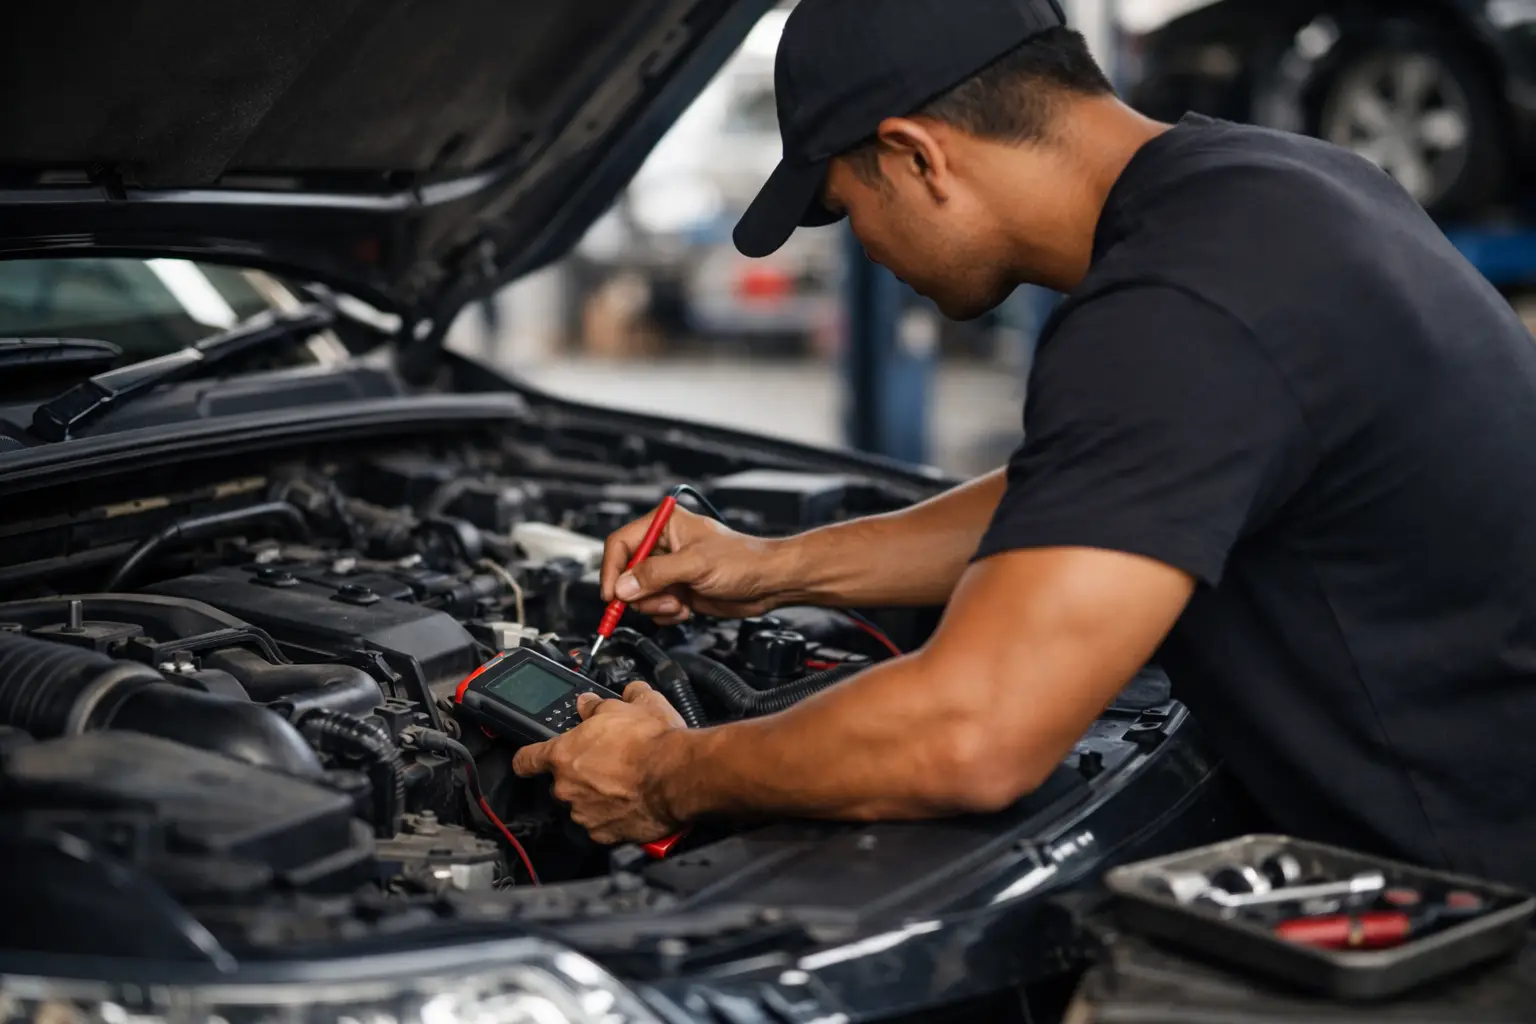

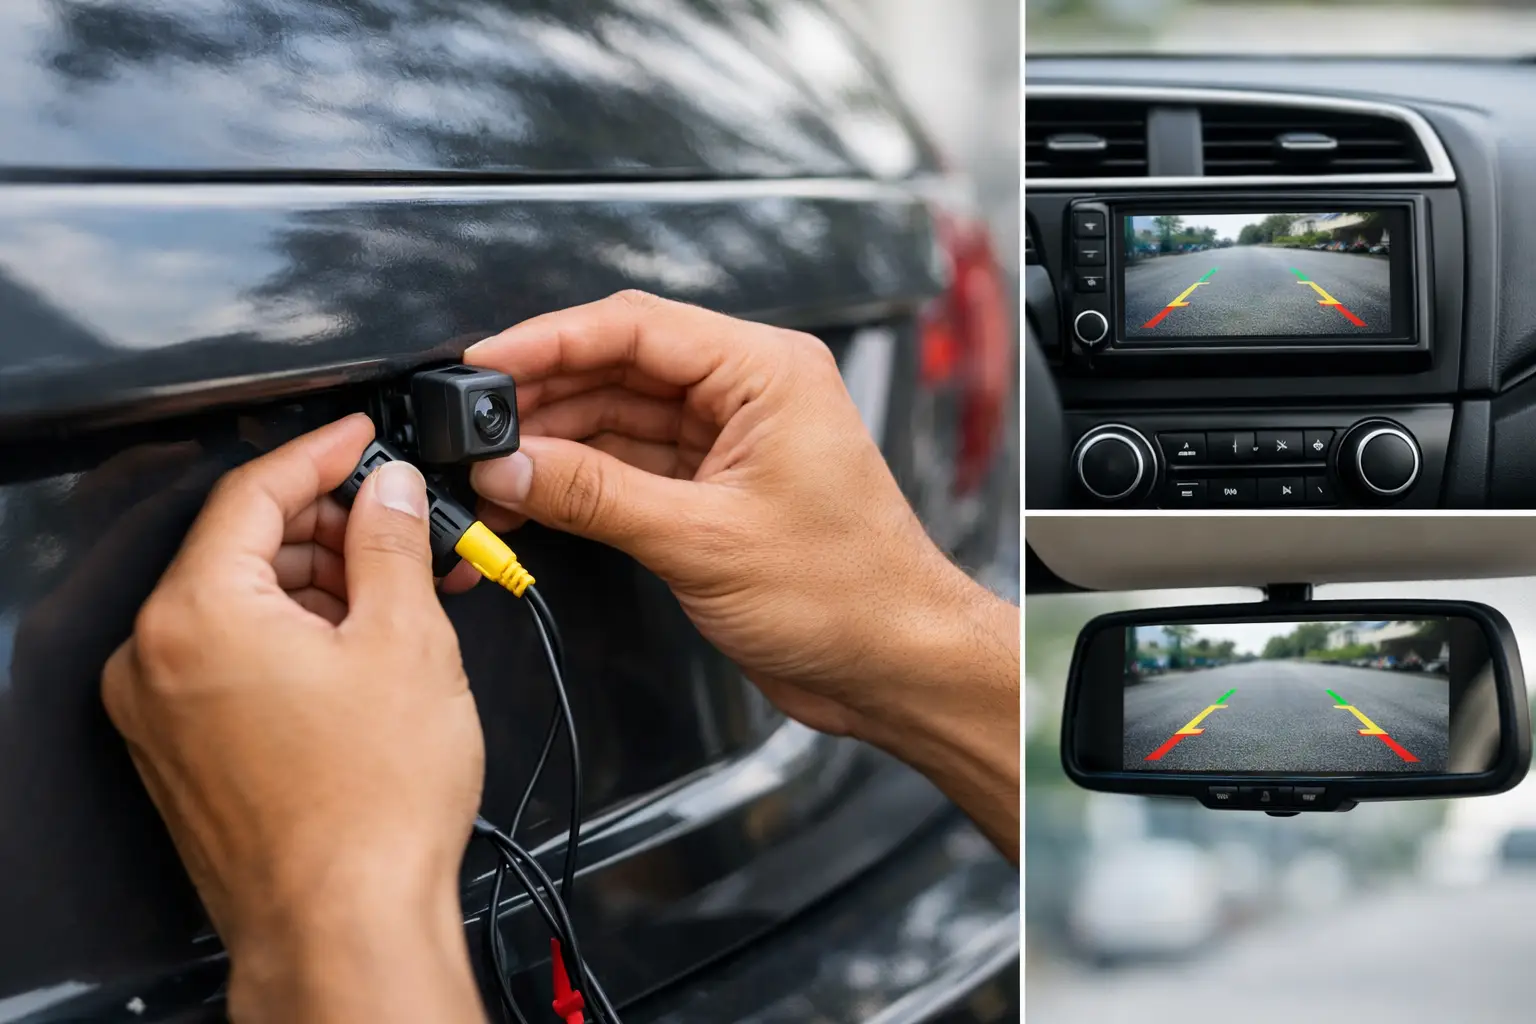
A reverse camera is one of those upgrades you appreciate every time you reverse out of a tight driveway, shopping centre space or busy worksite. Knowing how to install reverse camera equipment properly matters because a poor connection, badly routed cable or incorrectly mounted camera can leave you with an unreliable image when you need it most.
For many vehicles, a quality reverse camera can be fitted neatly without changing the look of the car. The key is choosing a suitable system, taking care with wiring and testing every function before refitting trims. If you are unsure around vehicle electrics, a mobile auto electrician can save time and prevent accidental damage to wiring, airbags or interior panels.
Choose the right reverse camera kit first
Reverse camera kits are available in several styles. The right option depends on your vehicle, the head unit you already have and how you use the car.
A wired camera is usually the most reliable choice. It runs a video cable from the rear of the vehicle to the display at the front and is less likely to suffer from interference or drop-outs. This is generally the better option for daily drivers, family cars, utes and work vehicles.
Wireless camera kits can be quicker to fit because they reduce the amount of cable that must travel through the cabin. However, they still need a power connection at the rear and can occasionally experience signal interference. They may suit a simple installation, but a wired system is normally the more dependable long-term solution.
You will also need to confirm where the image will appear. Some cameras connect to an existing infotainment screen, while others come with a separate monitor that mounts on the dash or clips over the rear-view mirror. If your car has an aftermarket stereo, check that it has a reverse camera input before buying a kit.
For the camera itself, a number-plate-mounted unit is common and discreet. A flush-mount camera can look very tidy but requires drilling into the tailgate or bumper. Surface-mounted cameras are practical for vans, trailers and utes where a higher viewing angle is useful.
What you need before starting
Before pulling trims apart, inspect the kit and make sure you have the correct parts. Most wired kits include the camera, video lead, power leads and a small reverse trigger wire. You may also need trim removal tools, cable ties, electrical tape, heat-shrink, a multimeter, a drill and suitable grommets if a new hole is required.
Disconnect the negative battery terminal before handling exposed wiring. This helps reduce the risk of a short circuit while you are working. Be aware that modern vehicles often have wiring and sensors behind trim panels, particularly around pillars, doors and the tailgate. Never route a cable across the path of an airbag.
It is also worth checking the camera angle before mounting it permanently. A camera aimed too high shows plenty of horizon but little of the ground behind the vehicle. One aimed too low may make it difficult to judge approaching traffic or objects further back.
How to install reverse camera wiring
The most common installation method powers the camera from the reverse light circuit. This means the camera turns on when reverse gear is selected and the display automatically switches to the camera view.
Mount the camera securely
Start at the rear of the vehicle. Hold the camera in position near the number plate, tailgate handle or rear bumper and check that it has a clear, central view. Make sure it will not block the number plate, rear lights or sensors.
If drilling is necessary, measure twice and drill carefully. Use a rubber grommet wherever a wire passes through metal to prevent the insulation rubbing through over time. Seal any new opening properly to keep water and dust out of the vehicle.
Find the reverse light power wire
Access the rear light wiring, usually behind an interior trim panel or through the tailgate. With the battery reconnected temporarily, use a multimeter to identify the wire that receives power only when reverse gear is engaged. Colours vary between makes and models, so testing is safer than guessing.
Disconnect the battery again once the correct wire is confirmed. Connect the camera’s positive power wire to the reverse light positive wire, and connect the camera earth wire to a clean chassis earth point or the reverse light earth wire. Use quality crimp connectors, soldered joins with heat-shrink, or another secure automotive-rated connection. Avoid twisting wires together and covering them with tape alone.
Run the video cable to the front
Connect the video lead to the camera, then route it through factory looms and under interior trims towards the dashboard. Take your time here. Keep the cable away from sharp edges, moving hinges, hot components and airbag wiring.
In a hatchback or SUV, the hardest part is often getting the cable from the tailgate into the body. Follow the existing wiring through the factory rubber conduit where possible. This protects the cable and allows the hatch to open and close without stretching the wire.
Secure the cable at regular intervals with cable ties or fabric automotive tape. A loose cable can rattle, wear through insulation or get caught when trim panels are reinstalled.
Connect the screen and reverse trigger
At the front of the vehicle, connect the yellow video plug to the reverse camera input on the head unit or monitor. Many video leads have a thin red trigger wire running beside them. Connect this wire to the reverse light positive at the rear, then connect the front end to the head unit’s reverse trigger input.
This trigger tells compatible head units to change to the reverse camera screen as soon as reverse gear is selected. If you are fitting a separate monitor, follow the monitor wiring instructions, as some units use a different switching method.
Test the camera before refitting trims
Reconnect the battery and turn the ignition on. With the handbrake applied and the area behind the vehicle clear, select reverse gear. The screen should switch on quickly and show a stable image.
Check that the picture is the right way up and that the parking guidelines, if fitted, make sense for the vehicle’s width. Test the image in daylight and low light. A camera with infrared or low-light capability is useful, but no camera can replace careful mirror checks and looking over your shoulder.
If there is no image, start with the basics. Check the reverse light works, confirm the camera has a solid earth, inspect every connector and make sure the display is set to the correct camera input. A flickering image often points to a weak connection, damaged cable or poor earth. Static or rolling lines can indicate interference or an unsuitable video connection.
Only reinstall trims once the system works consistently. Pinched cables are a common cause of faults after an otherwise successful installation.
When professional fitting is the better option
A simple camera kit can be manageable for someone comfortable with basic vehicle wiring. It becomes more complicated with late-model vehicles, factory infotainment systems, 360-degree camera setups, vans with long cable runs, or cars with sensitive electronics and airbag-equipped trim areas.
Professional installation is also worthwhile when you want a clean finish with no visible wiring. A qualified installer can identify the correct circuits, use proper connectors, mount the camera securely and make sure the screen switches correctly when reverse is selected.
Ray’s Auto Electrical provides mobile accessory installations across Sydney, so the work can be completed at your home, workplace or another suitable location. That is particularly useful when a busy schedule makes a workshop visit difficult.
If you are comparing options online, searches such as “Auto Electrician near me” or “Auto electrician Blacktown” can help you find local support. Ask whether the installer can assess your existing head unit before you purchase a camera kit, as this can prevent buying parts that are not compatible.
A reverse camera should give you a clear, dependable view without becoming another item on your repair list. Choose a camera suited to your vehicle, protect every wire properly and get help early if the installation involves unfamiliar electrical work.