
A good set of LED driving lights can make early starts, country roads and weekend trips far safer. But knowing how to wire LED driving lights correctly matters just as much as choosing the lights themselves. A poor installation can cause blown fuses, flat batteries, flickering lights, damaged wiring or lights that stay on when they should be off.
For most vehicles, the safest approach is to use a quality wiring harness with a relay, an inline fuse and a switch that only allows the driving lights to operate with high beam. It keeps the high-current load away from the factory headlight wiring and gives the installation a cleaner, more reliable result.
What you need before wiring LED driving lights
Start by checking the instructions supplied with your particular lights and harness. LED driving lights vary in current draw, connector type and switching requirements. A pre-made harness is often the practical option for everyday vehicle owners because it includes the relay, fuse holder, connectors and switch wiring already sized for the job.
You will generally need the driving lights, an appropriately rated harness, mounting brackets, cable ties, split conduit, a drill and suitable mounting hardware. You may also need a multimeter or test light, heat-shrink terminals, electrical tape and an add-a-fuse or vehicle-specific high-beam adaptor where required.
Do not assume wire colours are the same between vehicles. Always test and confirm the high-beam trigger wire before making a connection. This is especially relevant on newer utes, four-wheel drives and SUVs, where headlight circuits can be controlled by a body control module rather than a simple conventional wire.
The basic LED driving light wiring layout
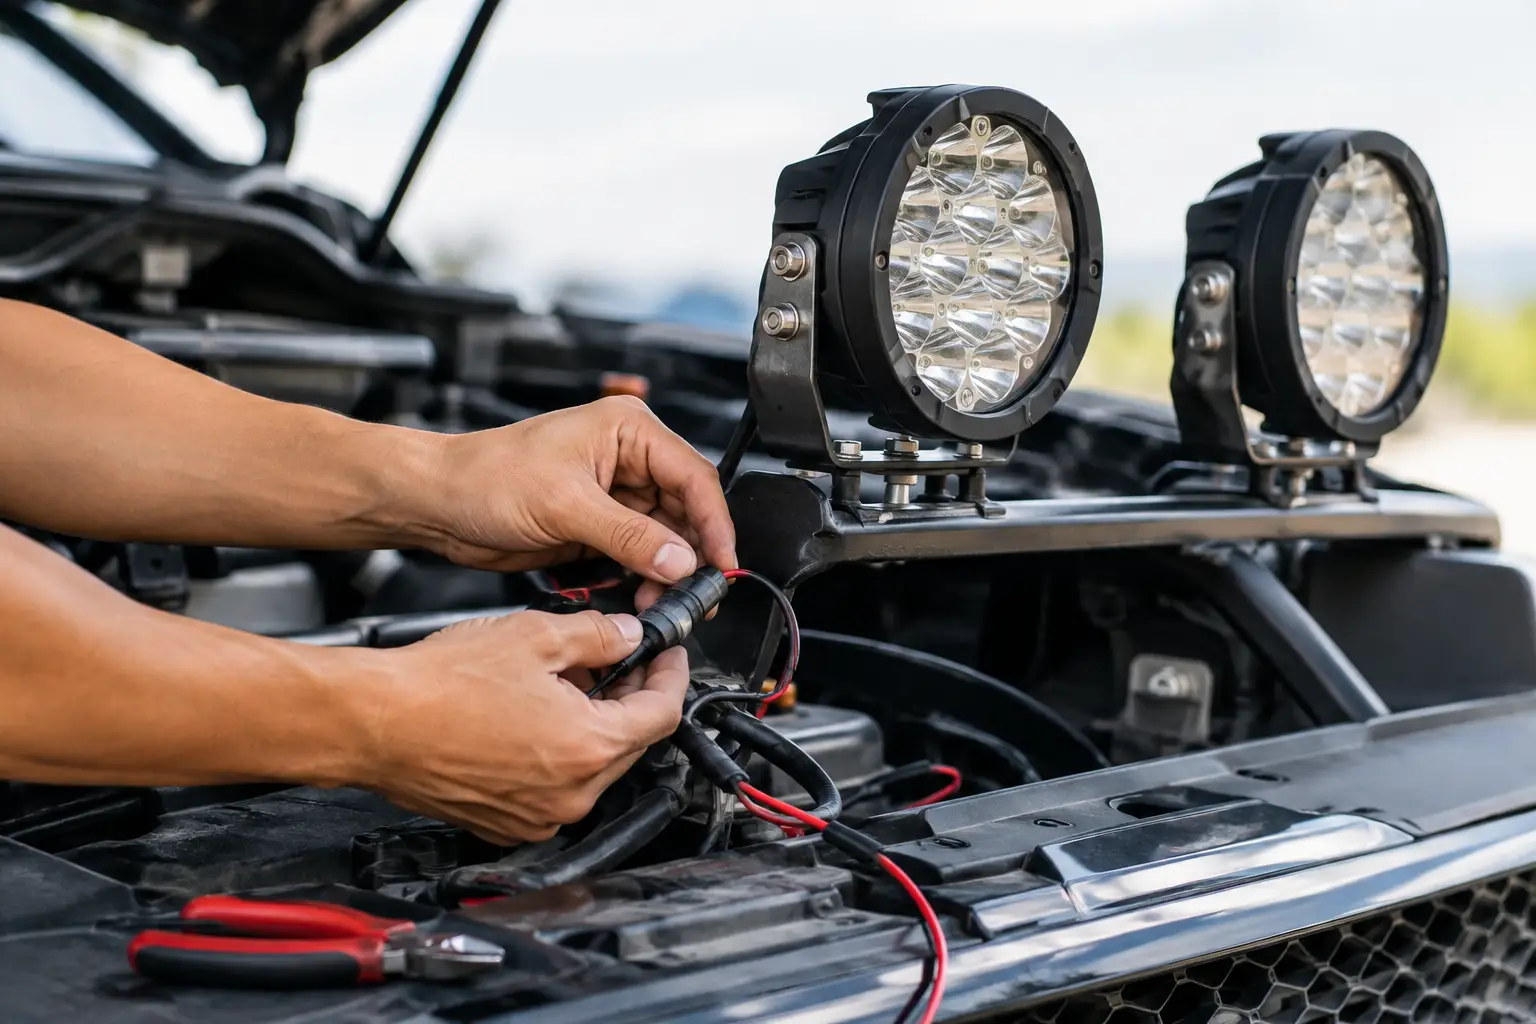
A standard setup follows a simple path. Battery power goes through an inline fuse to the relay. The relay then supplies power to both driving lights. A small trigger wire activates the relay when the vehicle’s high beams are on, while the dash switch lets you choose whether the driving lights come on with high beam.
The key point is that the driving lights should not draw their full power through the factory high-beam circuit. The high-beam wire is normally used only as a signal to trigger the relay. The relay handles the heavier load from the battery through properly sized cable.
The basic layout is:
- Battery positive to an inline fuse, then to the relay power terminal.
- Relay output to the positive wire on each LED driving light.
- Both driving light earth wires to a clean chassis earth point or directly to battery negative.
- Relay trigger connected to the vehicle’s high-beam signal, usually through the dash switch.
- Relay earth connected securely to chassis earth or battery negative.
Keep the fuse as close to the battery positive terminal as practical. If the power cable is damaged further along the run, the fuse can protect the wiring before it overheats.
How to wire LED driving lights step by step
1. Disconnect the battery and mount the lights
Before starting, disconnect the negative battery terminal. Mount the lights firmly to an appropriate bull bar, nudge bar or dedicated mounting bracket. They should sit level, be evenly spaced and have enough clearance from the grille, number plate and bonnet.
Avoid mounting locations where the lights may be exposed to excessive vibration or where their wiring can rub against sharp metal edges. Check that the bonnet opens properly and that airflow to the radiator is not restricted.
2. Position the relay and fuse holder
Find a protected area in the engine bay for the relay and fuse holder. Keep them away from exhaust heat, moving parts and areas that collect water. Many vehicles have suitable space near the battery, but do not simply leave the relay loose in the engine bay.
Secure the relay and fuse holder to a bracket or a solid mounting point. If the harness uses weatherproof connectors, make sure they click together fully and face away from direct water entry where possible.
3. Run the power cable from the battery
Route the harness power cable from the relay to the battery positive terminal. Fit the inline fuse holder close to the battery, but leave the fuse out until all wiring has been completed and checked.
Follow existing factory looms where possible, securing the new cable every few centimetres with cable ties. Use conduit to protect wiring through the engine bay and add a grommet whenever a wire passes through metal. Do not run cables near the exhaust manifold, fan, belts or steering components.
4. Connect both driving lights and earths
Connect the harness output plugs to the LED driving lights. If you are making connections yourself, use correctly crimped, heat-shrink terminals rather than twisting wires together and wrapping them in tape.
Earth connections deserve the same care as positive wiring. A weak earth can cause dim lights, intermittent operation or faults that are difficult to trace. Use a clean, bare-metal chassis point with a secure bolt, star washer and corrosion protection, or run the earth back to battery negative if recommended by the harness manufacturer.
5. Find the correct high-beam trigger
This is the step where many DIY installations go wrong. The relay trigger needs a signal that becomes active only when high beam is selected. On older vehicles, this may be a straightforward positive wire at the back of the headlight. On some modern vehicles, the system may use a negative-switched signal, pulse-width modulation or a CAN bus-controlled headlight circuit.
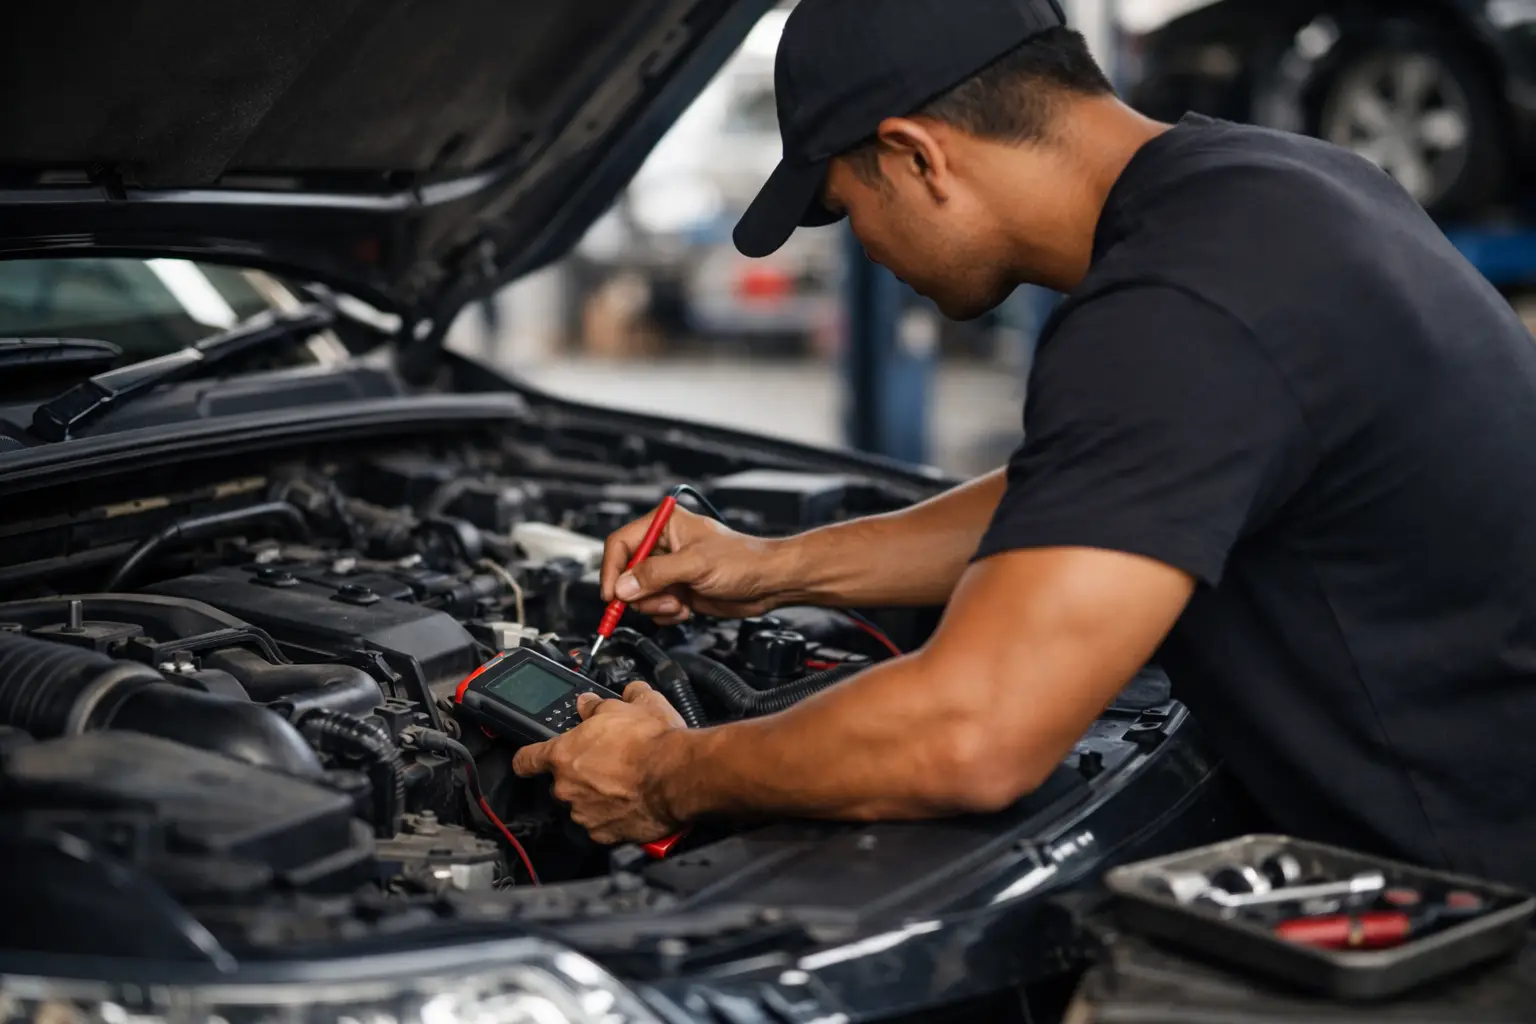
Use a multimeter to identify the wire correctly. With the ignition and headlights operating, confirm the signal changes only when high beam is turned on. If the vehicle uses a complicated lighting system, use a vehicle-specific adaptor or get professional help. Tapping into the wrong wire can create warning lights, headlight faults or unreliable operation.
6. Install the dash switch and test the circuit
Route the switch wire through an existing firewall grommet where available. Never push wiring through bare metal or drill through the firewall without checking what is on the other side. Fit the switch in a position that is easy to reach but does not interfere with airbags, steering controls or normal driving.
Once everything is secured, fit the fuse and reconnect the battery. Test the lights with the switch off, then on. In a typical legal configuration, the driving lights should only work when high beam is active. They should turn off when you dip back to low beam, even if the dash switch remains on.
Common wiring mistakes to avoid
The most common mistake is fitting lights directly to a high-beam wire without a relay. This can overload the factory circuit and is particularly risky on late-model vehicles. Another frequent issue is using an oversized fuse to stop it blowing. A fuse is there to protect the cable, so its rating must match the harness wire size and the light manufacturer’s current requirements.
Poor earth points, exposed joins and unsecured cables also cause plenty of call-outs. Water, vibration and engine heat quickly expose shortcuts. If the lights flicker, the fuse blows repeatedly or the vehicle shows headlight warnings after installation, stop using the system until the fault is found.
Also check the final beam aim at night on a level surface. Driving lights aimed too high can dazzle oncoming traffic, while lights aimed too low may not deliver the distance you fitted them for. Road rules and vehicle lighting requirements can vary, so make sure your installation and use are compliant in your state.
When a professional installation is the better choice
A basic relay harness on an older vehicle can be a manageable job for someone confident with vehicle wiring. However, professional installation is usually the safer choice for newer vehicles, dual-battery systems, smart alternators, factory LED headlights or vehicles with complex electrical modifications.
If you have searched for an “Auto electrician near me”, it is often because the job needs to be done quickly and correctly without risking the vehicle’s electrical system. For drivers looking for an auto electrician Blacktown or across Sydney’s Western Suburbs, a mobile auto electrician can test the correct trigger circuit, protect the wiring properly and fit the lights at your home or workplace.
Ray’s Auto Electrical can help with professional LED driving light installations, fault finding and accessory wiring where a reliable finish matters. A properly wired set of driving lights should simply work when you need them, then disappear into the background for every other trip.