
A dual battery setup can make a 4WD, ute or work vehicle far more useful. It lets you run a fridge, camp lights, a compressor or site equipment without flattening the starter battery. But learning how to wire dual battery systems properly matters. A poor installation can cause slow charging, damaged batteries, blown fuses, melted cables or, in serious cases, an electrical fire.
For most drivers, the safest approach is to understand how the system works, choose quality components and have the final installation checked or completed by a qualified auto electrician. Modern vehicles have sensitive electronics, and the right wiring method depends on the vehicle, battery type and what you plan to power.
How to wire dual battery systems: understand the layout first
A basic dual battery system has a starting battery under the bonnet and an auxiliary battery that powers accessories. The starter battery remains dedicated to starting the engine. The auxiliary battery is charged while you drive, then supplies power when the engine is off.
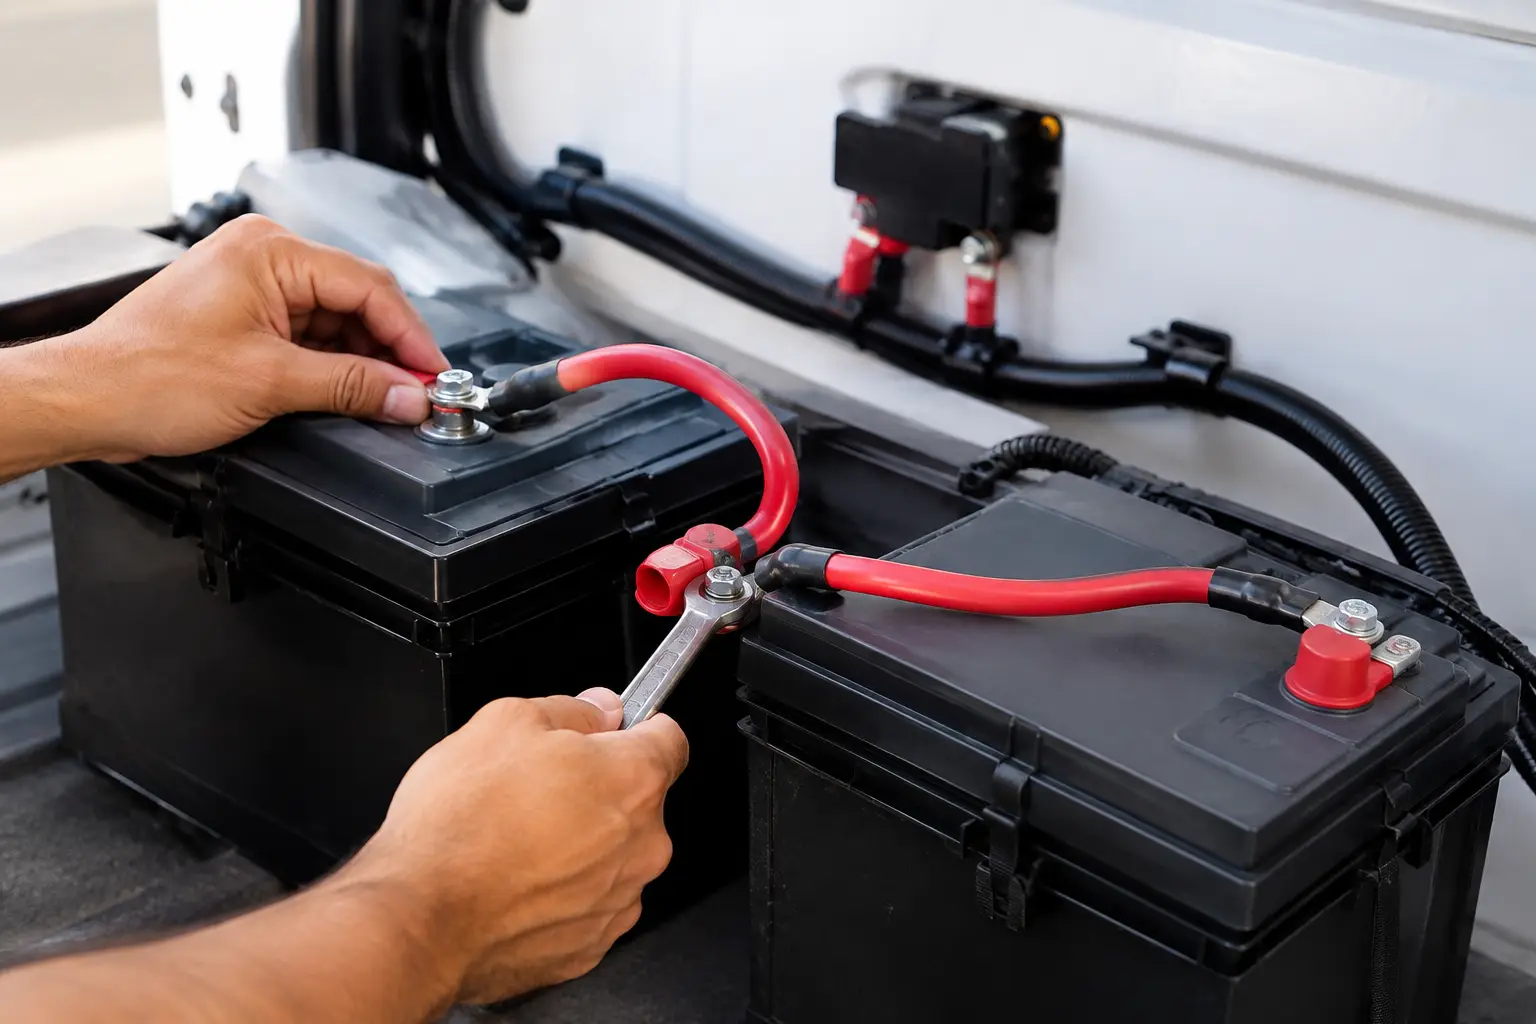
The system usually includes a battery isolator or DC-DC charger, appropriately sized twin-core cable, fuses or circuit breakers, battery terminals, an earth connection and an accessory distribution point. If you are running a fridge or multiple camping accessories, you may also need a fuse block, Anderson plug or rear power outlet.
The key principle is simple: the batteries need a controlled charging connection, but accessories should only draw from the auxiliary battery. Connecting accessories directly to the starter battery defeats the purpose of the setup.
Choose the right battery and charging method
Before running a single cable, match the system to your use. A battery that suits occasional weekend camping may not be suitable for a tradesperson running tools daily or a touring setup with a fridge permanently connected.
AGM batteries are common because they are compact, reliable and handle moderate accessory loads well. Lithium batteries are lighter and provide more usable capacity, but they need compatible charging equipment and careful installation. A standard lead-acid auxiliary battery is cheaper, although it is less suited to repeated deep discharge.
Your vehicle’s charging system is just as important. Older vehicles with conventional alternators can often use a voltage-sensitive relay or isolator. Many newer utes, 4WDs and SUVs use smart alternators that reduce voltage once the starter battery is charged. In these vehicles, a DC-DC charger is generally the better option because it delivers the correct charging profile to the auxiliary battery.
A DC-DC charger also makes sense when the auxiliary battery is mounted in the canopy, tub, rear cargo area or camper trailer. Long cable runs create voltage drop, and the charger helps maintain proper charging voltage at the second battery.
Plan the battery location and cable route
Auxiliary batteries can be fitted under the bonnet, in the tub of a ute, in a canopy, inside the rear cargo area or in a dedicated battery box. Under-bonnet mounting saves space but exposes the battery to heat and vibration. Not every battery type is safe or suitable for this location.
A rear-mounted battery is often easier to access and keeps heat away from the battery, but it requires a longer cable run. That means cable size becomes critical. A cable that is too small may look neat and save money, but it can restrict charging and heat up under load.
Route cables away from exhaust components, steering and suspension parts, sharp metal edges and moving mechanisms. Use split conduit where cables pass through exposed areas, secure them with proper mounts and fit grommets anywhere they pass through metal panels. Never rely on electrical tape as protection for a cable running through a body panel.
Use correct cable size, fuses and earth points
Cable sizing depends on the length of the run, the charging current and the loads you expect to use. There is no one cable size that suits every dual battery installation. A short under-bonnet run may need less cable than a long run to a canopy-mounted lithium battery, but undersizing is never worth the risk.
Every positive cable connected to a battery should be protected by a fuse or circuit breaker as close as practical to the battery terminal. This protects the cable if it is damaged or short-circuits against the vehicle body. A fuse protects the wiring, not just the accessory at the other end.
A sound earth is equally important. The auxiliary battery negative can often be connected to a clean, solid chassis earth point using cable sized to suit the positive cable. For higher-current systems, or where the manufacturer specifies it, a dedicated negative cable back to the starter battery may be required. Paint, corrosion and loose bolts can create a poor earth, leading to unreliable charging and frustrating intermittent faults.
A practical dual battery wiring sequence
With the vehicle switched off and both battery negatives disconnected, the usual installation sequence is:
- Mount the auxiliary battery securely in an approved tray or battery box. It must not move under braking, cornering or rough-road travel.
- Install the isolator or DC-DC charger in a dry, ventilated location that is protected from heat and road spray.
- Run the positive and negative cables along the planned route, protecting and securing them before connecting power.
- Fit the correct fuses or circuit breakers close to each battery positive terminal, then connect the charging unit according to its wiring diagram.
- Connect accessories to a fused distribution panel supplied by the auxiliary battery, not to loose terminals or unfused cables.
- Reconnect batteries, test charging voltage and check that accessories operate from the auxiliary battery while the starter battery remains protected.
This is a general guide, not a substitute for the wiring instructions supplied with your charger and battery. Each manufacturer may specify different fuse ratings, cable sizes, ignition feeds or solar inputs.
Do not forget accessory wiring
The charging side of the system is only half the job. A fridge, inverter, compressor, camp lights and USB outlets all need correctly fused circuits. Avoid adding multiple accessories directly to the battery terminals. A fused distribution box makes faults easier to trace and keeps the installation cleaner.
An inverter deserves particular care. Even a modest inverter can draw high current, especially when powering tools or appliances. It needs heavy cable, suitable fusing and strong connections. If you are unsure whether your auxiliary battery can support an inverter load, get advice before installing it. A small battery can be drained quickly, and repeated deep discharge shortens battery life.
For touring vehicles, an Anderson plug at the rear can be useful for a trailer, portable solar panel or battery box. It must be wired with the same attention to cable sizing and circuit protection as the main system.
Test the system before relying on it
Once installed, start the vehicle and confirm that the auxiliary battery receives charging voltage. With a DC-DC charger, check its status lights or display and follow the manufacturer’s test procedure. Switch the engine off, run an accessory such as a fridge and make sure it is drawing from the auxiliary battery.
Also check for heat at terminals, loose mounting hardware, rubbing cables and blown fuses. A voltage reading alone does not prove the system is right. A connection can appear fine with no load, then fail when the compressor, fridge or inverter starts working.
It is worth checking the system again after the first long drive or rough track. Vibration can loosen fittings, particularly in a ute tray, canopy or engine bay.
When professional installation is the safer choice
DIY dual battery wiring can be suitable for an experienced person using a vehicle-specific kit and following the manufacturer’s instructions carefully. It becomes more complicated when the vehicle has a smart alternator, lithium battery, solar charging, an inverter, trailer charging or a long run to the rear of the vehicle.
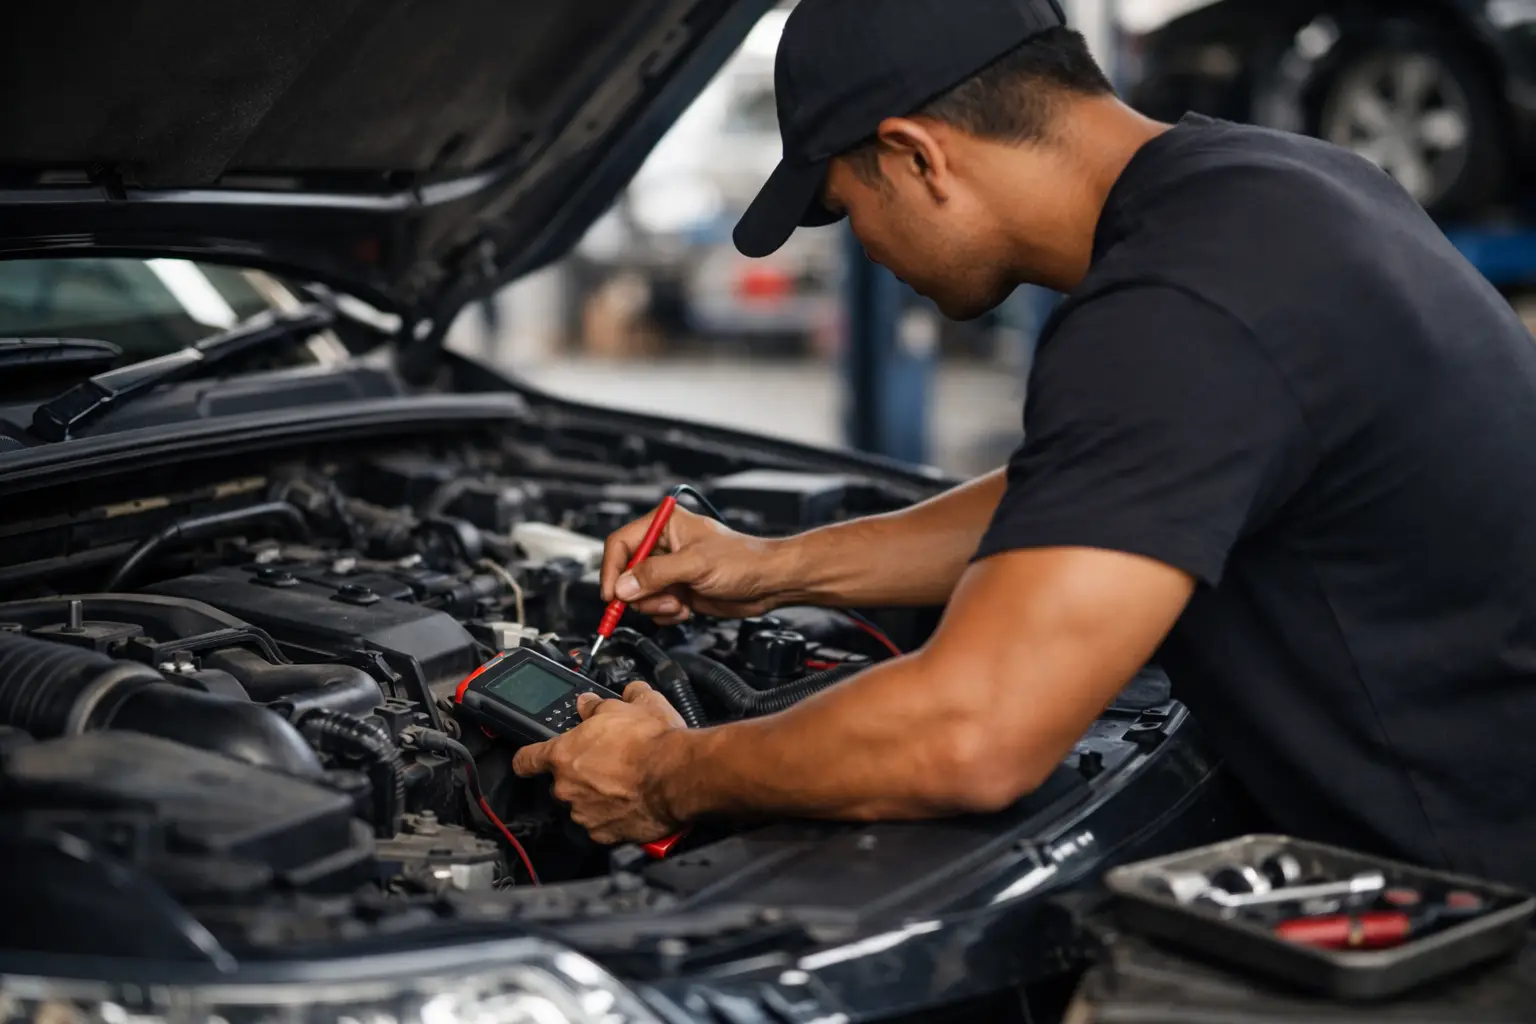
Professional installation is also sensible if you need the system to work every day for work or family travel. An auto electrician can assess battery condition, alternator output, cable routing and accessory loads before fitting the right components. That avoids spending money twice on a setup that charges poorly or cannot handle what you plug into it.
If you have searched for an Auto Electrician near me or typed Auto electrician Blacktown while planning a dual battery installation, look for someone who can test the complete vehicle charging system rather than simply connect a second battery. Ray’s Auto Electrical provides mobile auto electrical support across Sydney, making it easier to organise professional advice and installation at your home or workplace.
A well-wired dual battery system should fade into the background: the vehicle starts when it needs to, the fridge stays cold, and your accessories have reliable power. If any part of the wiring, fusing or charging setup is uncertain, stopping before you connect it is the practical decision.