
A trailer light fault can turn a simple trip into a frustrating delay. One indicator may flash quickly, brake lights may not work, or everything can go dead as soon as you connect the trailer. Knowing how to fix trailer lights starts with checking the basics in the right order, rather than replacing parts and hoping for the best.
Trailer lighting problems are usually caused by a poor earth, dirty plug, damaged wiring, blown globe or fault at the tow vehicle socket. The good news is that most faults can be narrowed down quickly with a visual check and a basic test light or multimeter.
Start with a safe, simple check
Park on level ground, apply the handbrake and make sure the trailer is secure before working around it. Have someone operate the vehicle lights while you inspect the trailer, or use a suitable tool to test each circuit.
Check the trailer lights one function at a time: park lights, brake lights, left indicator, right indicator, reverse lights if fitted, and number plate lights. Write down exactly what is and is not working. This matters because the fault pattern often points directly to the cause.
For example, if one light is out but the other side works, the issue is commonly a globe, lamp fitting or local wiring fault. If several lights fail at once, look first at the trailer plug, vehicle socket, fuse, earth connection or main trailer wiring.
How to fix trailer lights by checking the plug first
The trailer plug and vehicle socket are exposed to water, dust, road grime and vibration. They are one of the most common places for faults to start.
Disconnect the trailer plug and inspect both sides closely. Look for bent pins, loose terminals, green corrosion, moisture, cracked plastic or wires pulling out from the back of the plug. A pin that looks only slightly pushed back may fail to make contact when the plug is connected.
Clean light corrosion carefully and allow the connection to dry. If the plug is cracked, heavily corroded or has loose terminals, replacement is usually more reliable than a temporary repair. Make sure the replacement plug is wired to the correct pin layout for your trailer and tow vehicle.
A common mistake is assuming all trailer plugs use the same wiring arrangement. They do not always match, especially on older trailers, imported vehicles or trailers that have had previous repairs. Check the wiring diagram for your specific plug type before moving wires around.
Check the earth connection
A bad earth is behind many strange trailer light issues. You might see indicators flashing through brake lights, dim globes, lights working only when another circuit is on, or lights changing brightness as the trailer moves.
The earth wire is usually white and should run from the trailer plug to a clean, secure connection on the trailer chassis. Check that the terminal is tight and that it contacts bare, clean metal. Rust, paint and corrosion can stop the circuit from earthing properly.
Remove surface rust around the earth point, tighten the connection and protect it from future corrosion. Also inspect the earth wire along the drawbar and chassis. If it is broken, pinched or corroded inside the insulation, replacing that section is the safer repair.
Some trailers rely on the hitch coupling or chassis contact for an earth path. This can work inconsistently, particularly after repainting, when towing in wet conditions or if there is corrosion around the coupling. A dedicated earth wire is the better option.
Inspect globes, lamp fittings and LED lights
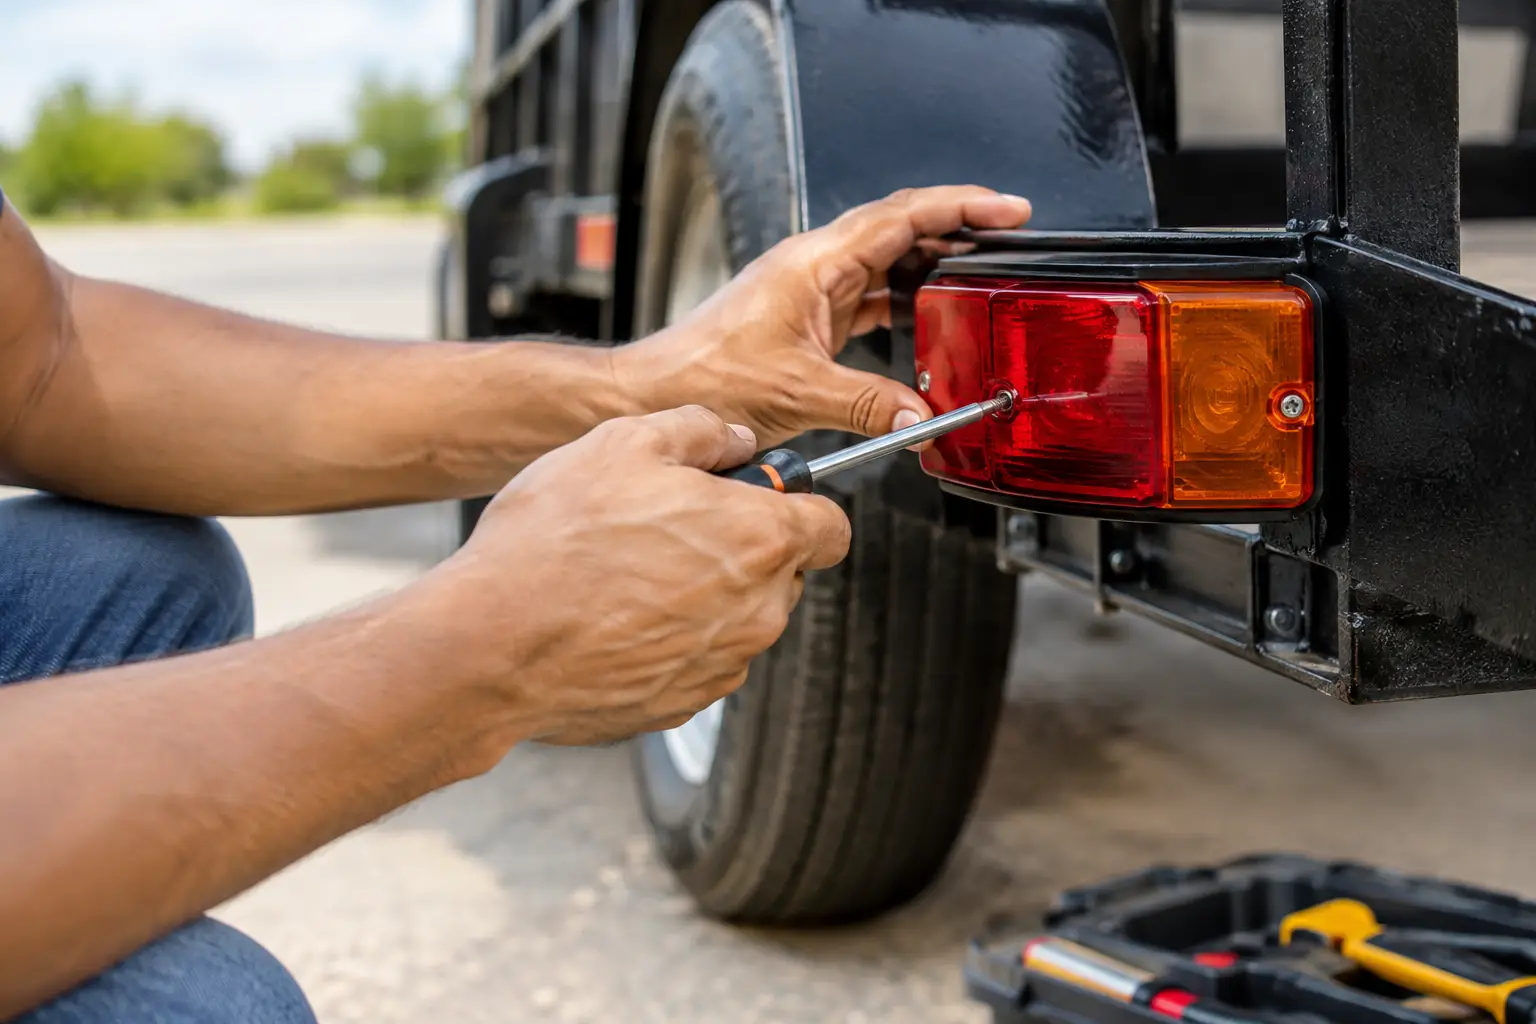
If a single light is not working, start at that lamp. Remove the globe and check for a broken filament, darkened glass, loose base or corrosion in the globe holder. Replace the globe with the correct type and wattage for the fitting.
Do not overlook the lamp contacts. A good globe will not work if the metal contacts are flattened, dirty or corroded. Clean the contacts gently and make sure they press firmly against the globe.
LED trailer lights are long-lasting, but they are not fault-proof. Water can enter a damaged LED housing, and internal components can fail. If power and earth are reaching the light but it still does not operate, the sealed LED unit may need replacing.
If an LED trailer causes fast indicator flashing on the tow vehicle, it may be due to the lower electrical load of LEDs. Depending on the vehicle, this may require a compatible trailer module, load resistor or coding adjustment. Avoid guessing here, as incorrect wiring can create more faults.
Follow damaged wiring along the trailer
Trailer wiring often runs under the chassis, through the drawbar and around mudguards. That puts it in the path of stones, water, heat, sharp edges and occasional damage from loading gear.
Follow the loom from the plug to the lights. Look for crushed cable, exposed copper, taped joins, loose clips, melted insulation and wires rubbing against metal. Pay close attention around the drawbar, axle, suspension, tailgate or ramps, as these are common stress points.
A repair should be properly sealed against moisture and vibration. Twisting wires together and wrapping them in tape may work briefly, but it often fails after rain or a few rough kilometres. Use suitable automotive connectors, heat-shrink protection and secure the loom so it cannot rub or hang loose.
If the wiring is old and has several previous repairs, a partial patch-up may not be worth it. Rewiring the trailer can be more cost-effective and dependable, especially for a work trailer, boat trailer or caravan used regularly.
Test the vehicle side too
It is easy to blame the trailer when the fault is actually in the tow vehicle. If possible, connect another known-working trailer to the vehicle, or test your trailer on another vehicle. This quickly tells you which side of the connection needs attention.
Check the vehicle trailer socket for corrosion, loose pins and water entry. Then check relevant fuses. Many modern vehicles have separate trailer circuits, smart modules or towbar wiring systems that can shut down a circuit when they detect a short.
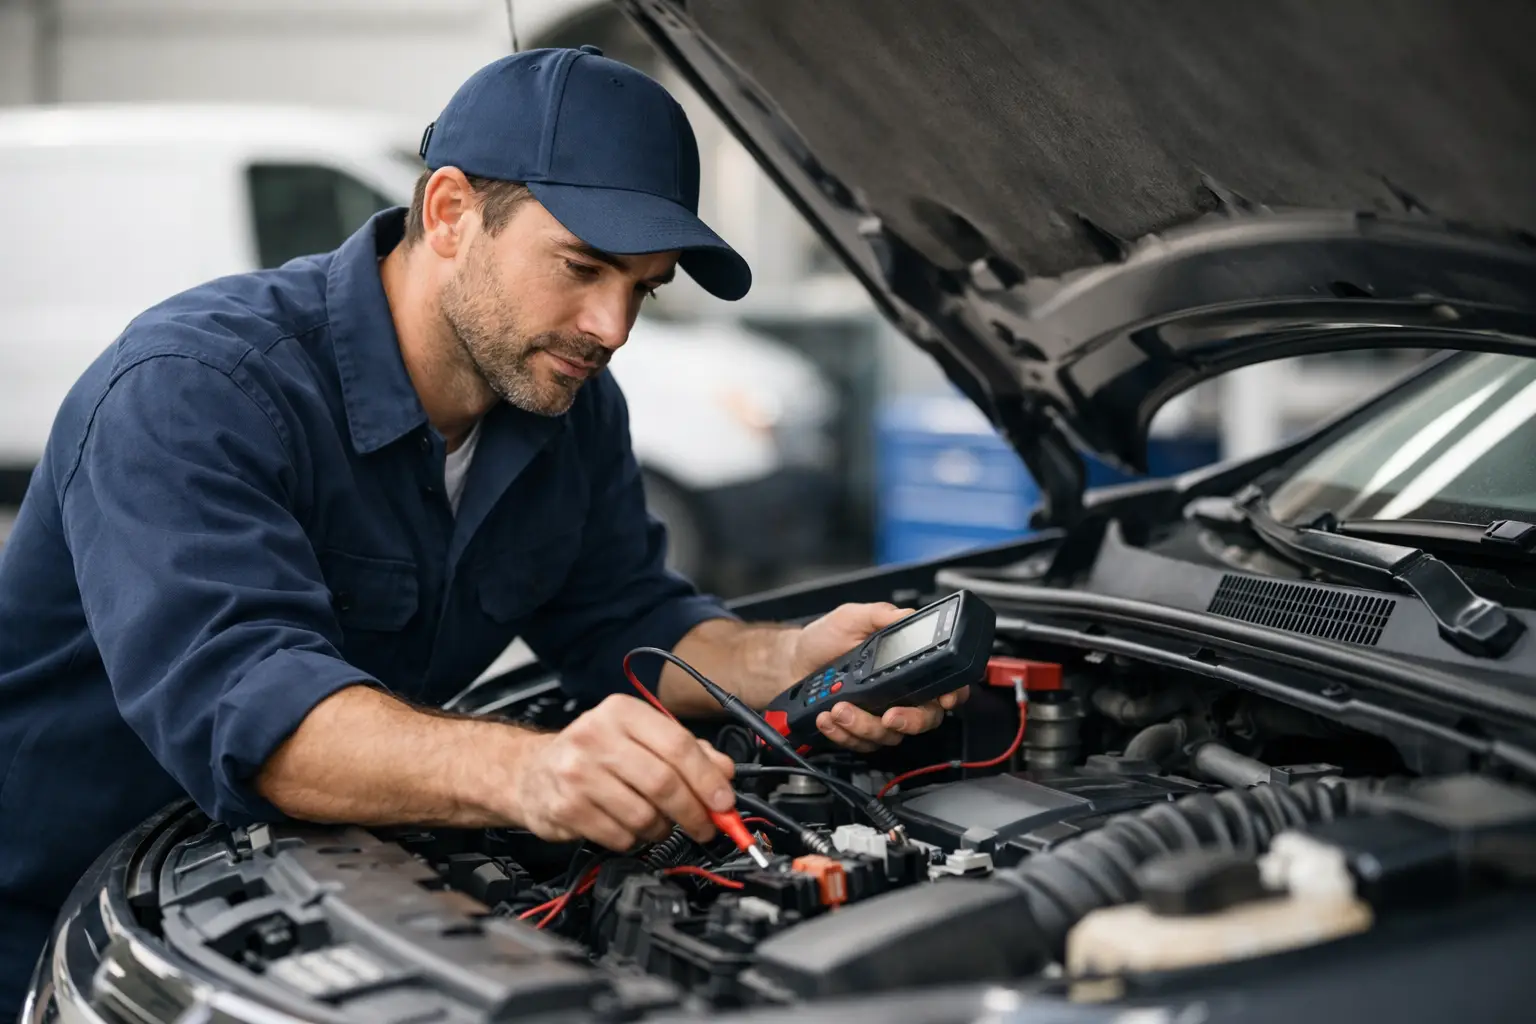
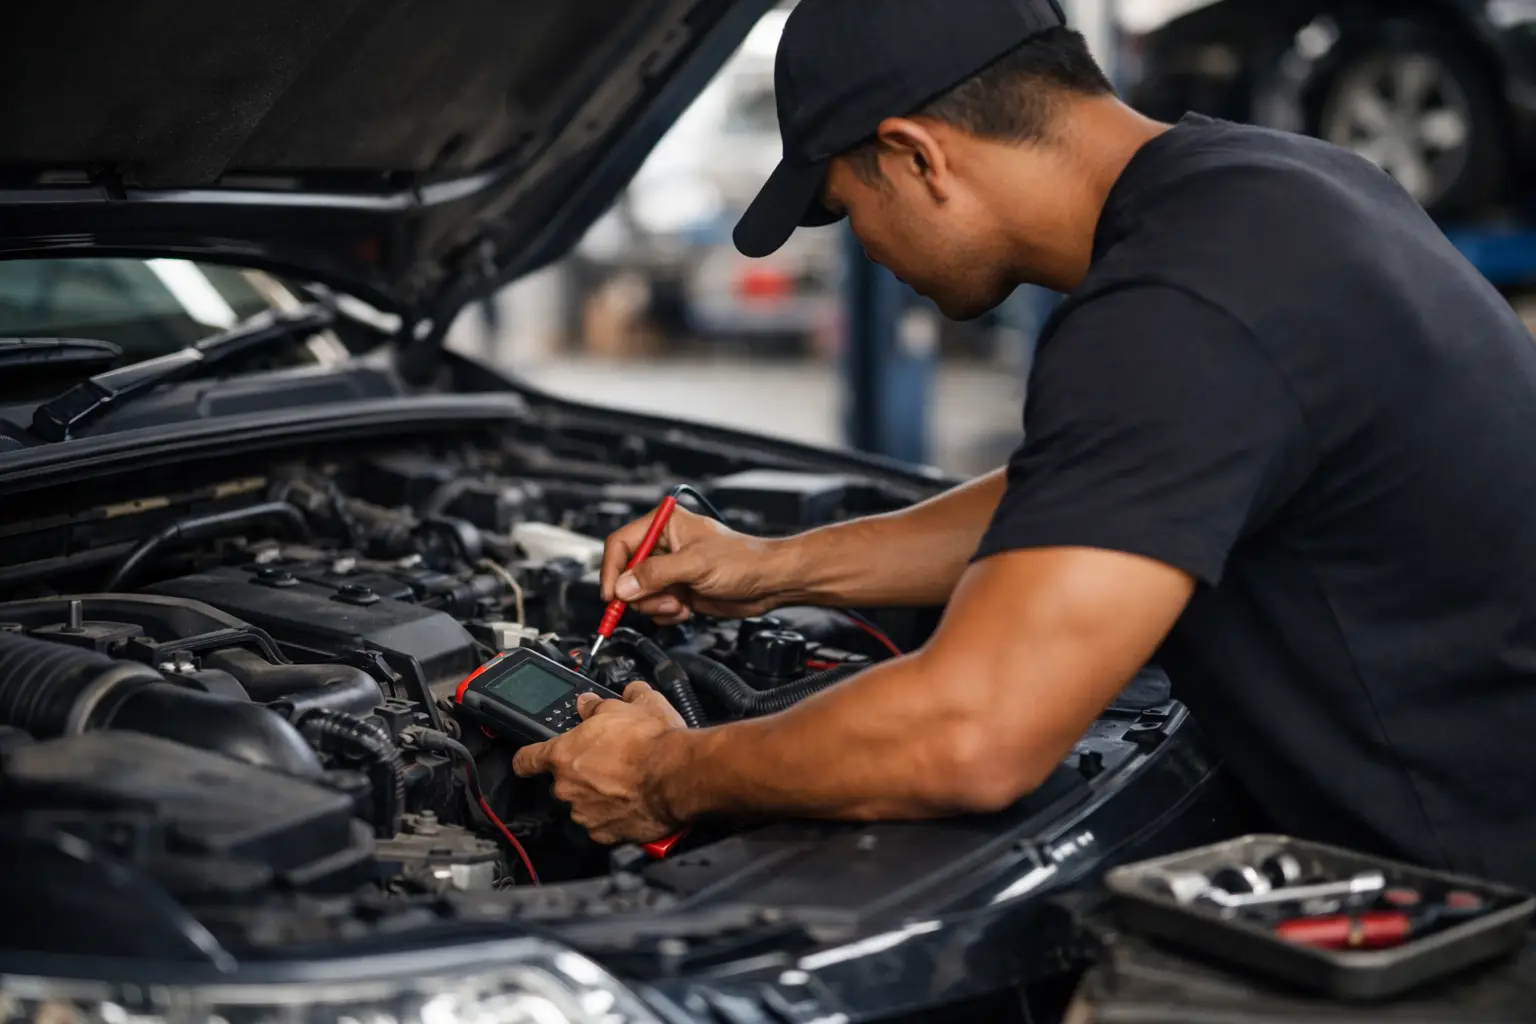
A multimeter or test light can confirm whether power is arriving at the correct socket pin when each vehicle light is switched on. If there is no power at the socket, the fault may be in the vehicle wiring, fuse, trailer module or towbar installation.
Modern vehicles can be less forgiving than older models. Incorrect connections can trigger warning messages, disable circuits or affect vehicle electronics. If the fault is on the vehicle side, a qualified auto electrician can diagnose it without risking damage to the electrical system.
Avoid quick fixes that create bigger problems
Do not bypass fuses with larger fuses or wire. Fuses are there to protect the wiring from overheating and fire. If a fuse keeps blowing, there is likely a short circuit, damaged wire or faulty component that needs to be found.
Avoid driving with unreliable trailer lights, even for a short local trip. Working brake lights, indicators, tail lights and number plate lights are essential for other road users to see your intentions. They are also a legal requirement when towing on Sydney roads.
If you have checked the plug, earth, globes and visible wiring but the problem remains, professional testing is often faster than continuing to replace parts. An experienced technician can test voltage, continuity and circuit load to identify the actual fault.
For trailer light repairs at your home, worksite or roadside location, Ray’s Auto Electrical provides mobile electrical diagnostics across Sydney. Searching “Auto electrician near me” can help when you need prompt local support, while customers in the west may also search “Auto electrician Blacktown” for nearby assistance.
A trailer should be ready before the trip, not repaired on the side of the road. Give the lights a quick check whenever you hook up, particularly before night driving, long weekends or towing in wet weather.