
A light bar should make early starts, country roads and work sites easier to see – not create electrical faults, warning lights or a flat battery. Proper LED light bar wiring installation is more than mounting a bar and running a cable to the battery. The wiring, switching, fuse protection and aiming all need to suit your vehicle and how you use it.
For many utes, 4WDs and work vehicles, an LED light bar is a worthwhile upgrade. The key is having it fitted neatly and safely, so it works when you need it without affecting the factory electrical system.
What a proper LED light bar wiring installation includes
A quality installation starts with choosing a suitable mounting point. Common positions include a bullbar, roof rack, number plate bracket or grille mount. The bar must be secure, clear of moving parts and positioned so it does not block sensors, cameras or airflow to the radiator.
The wiring should then be routed away from hot engine components, sharp metal edges, steering and suspension movement. Cables need proper protection where they pass through panels or sit in the engine bay. A wire rubbed through by vibration can cause a short circuit, blown fuse or intermittent fault that is difficult to trace later.
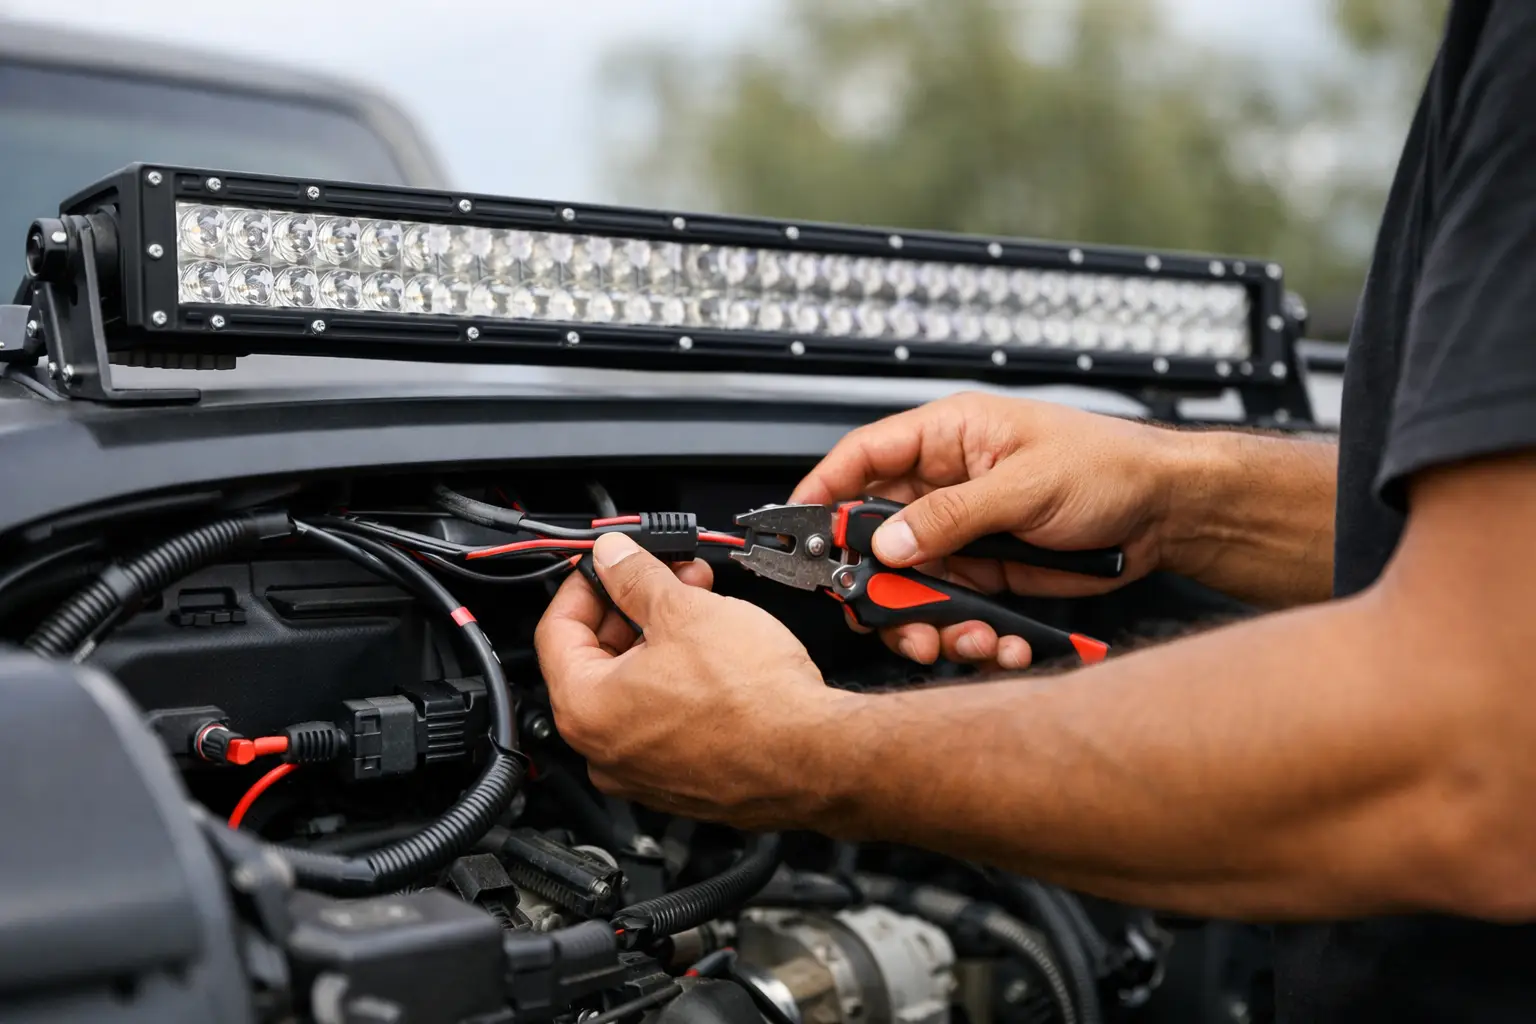
A professional fitting normally includes a fused power feed from the battery, a relay, an appropriate switch or factory-style switching method, and a reliable earth point. Connectors should be weather-resistant, with heat-shrink protection used where needed. This is especially important on vehicles exposed to rain, dust, mud or regular off-road driving.
The aim is simple: the light bar should operate consistently, while the original wiring remains protected.
Why the relay and fuse matter
LED light bars use less power than older halogen driving lights, but they can still draw enough current to damage unsuitable wiring or switches. A relay lets a low-current trigger circuit control the higher-current supply to the light bar. This avoids loading up a small dashboard switch or tapping into a factory circuit that was never designed for extra accessories.
The fuse is there to protect the cable, not just the light bar. It should be fitted as close to the battery as practical. If the cable is damaged further along the run, the fuse can cut power before the wiring overheats.
Using the correct cable size also matters. A small light bar on a short run may not require heavy cable, while a high-output dual-bar setup or a long cable route may need a larger gauge. Guessing can lead to voltage drop, reduced light output and excessive heat. The right setup depends on the bar’s actual current draw, cable length and vehicle layout.
Choosing how your light bar switches on
There are a few ways to control an LED light bar, and the best option depends on your vehicle and intended use. Many drivers choose to have the bar operate with high beam. This is practical for rural and unlit roads, as the light bar turns off when you dip your headlights for oncoming traffic.
Some setups use a separate dash switch, allowing the light bar to be disabled even when high beam is on. This gives you more control and is often preferred on work vehicles. Modern vehicles may require a dedicated interface or signal pickup to detect high beam correctly, particularly where the lighting system is controlled by a body control module rather than a simple switched wire.
That is one reason a newer vehicle should not be treated like an older ute. Cutting into the wrong wire can trigger fault codes, affect automatic lighting functions or create warranty concerns. An experienced auto electrician can identify the safest trigger method for the vehicle.
Avoid overloading factory wiring
Factory wiring is designed for the equipment fitted by the manufacturer. Adding a light bar directly to a headlight wire or using a cheap harness with undersized components can create problems over time.
A separate fused supply and relay-based harness are usually the sensible approach. It keeps the accessory circuit independent and reduces the risk of heat damage to original wiring. On late-model vehicles, it can also prevent unwanted issues with sensitive electronics.
Neat wiring is not only about appearance
It is easy to judge an installation by whether the light comes on. The better test is how it will hold up after months of heat, vibration, wet weather and normal vehicle servicing.
Loose wiring in an engine bay can rub through against brackets or become caught during routine work. Unsealed joins can corrode. A poor earth may cause flickering or dim output. Cables routed across the top of the engine may look quick and easy, but they are often exposed to unnecessary heat and movement.
A neat installation uses split conduit, secure mounting points and protected cable paths. Wiring is kept accessible enough for future checks, but tucked away from damage. Inside the cabin, switches should be positioned where they are easy to use without drilling or cutting more trim than necessary.
If you plan to add a UHF, dash cam, dual battery system or other accessories later, it is worth discussing this before the light bar is wired. Planning the accessory layout from the start can save repeat labour and prevent a cluttered battery area.
Light bar mounting and beam direction
Even the best wiring will not help if the light bar is poorly aimed. Mounting position affects glare, vibration and how useful the beam is at distance. A roof-mounted bar can provide a wide spread of light, but it may create bonnet reflection, wind noise and greater glare in rain or dust. A bullbar-mounted bar is often easier to aim and service, though the beam can be lower to the road.
After installation, the bar should be tested at night in a safe location and adjusted carefully. It should supplement your headlights rather than shine upwards into trees, signs or other drivers’ line of sight. Follow applicable road rules and vehicle requirements for auxiliary lighting, as rules can vary depending on vehicle type, mounting location and how the lights are switched.
For off-road-only setups, there can be more flexibility, but secure mounting and protected wiring remain just as important.
When DIY fitting makes sense – and when it does not
A basic light bar kit can be suitable for a confident DIY owner with the correct tools, wiring knowledge and an older vehicle with straightforward electrical systems. You still need to understand fuse selection, relay terminals, cable protection and safe cable routing. Twisting wires together, using household connectors or skipping the fuse is not a shortcut worth taking.
Professional help is usually the better option if your vehicle is late model, has LED or adaptive headlights, uses a CAN-bus electrical system, or has limited room around the battery and firewall. It is also worthwhile when you need a clean switch installation, want the bar integrated with high beam, or simply do not have time to pull trims and test circuits.
A mobile auto electrician can complete the work at your home, workplace or job site, which is useful when your vehicle is needed during the week. Ray’s Auto Electrical provides on-site accessory installations across Sydney, including the Western Suburbs, with practical advice on a setup that suits your vehicle.
Signs an existing light bar installation needs attention
If your light bar flickers, works only sometimes, blows fuses or causes radio interference, the issue may be in the wiring rather than the bar itself. Water in a connector, a loose earth, damaged cable insulation or an overloaded switch can all cause unreliable operation.
Other warning signs include wires hanging under the bonnet, exposed joins, heat around a switch, a battery that goes flat after the vehicle sits, or dashboard warnings that appeared after an accessory was fitted. These faults should be checked before they become a larger repair.
When searching Auto Electrician near me, choose someone who can diagnose the full circuit rather than simply replace parts. And if you have typed Auto electrician Blacktown while looking for local help, ask whether the technician can inspect the installation on-site and explain what needs fixing in plain English.
A properly fitted light bar should feel like part of the vehicle: secure, easy to operate and ready when the road ahead gets dark.