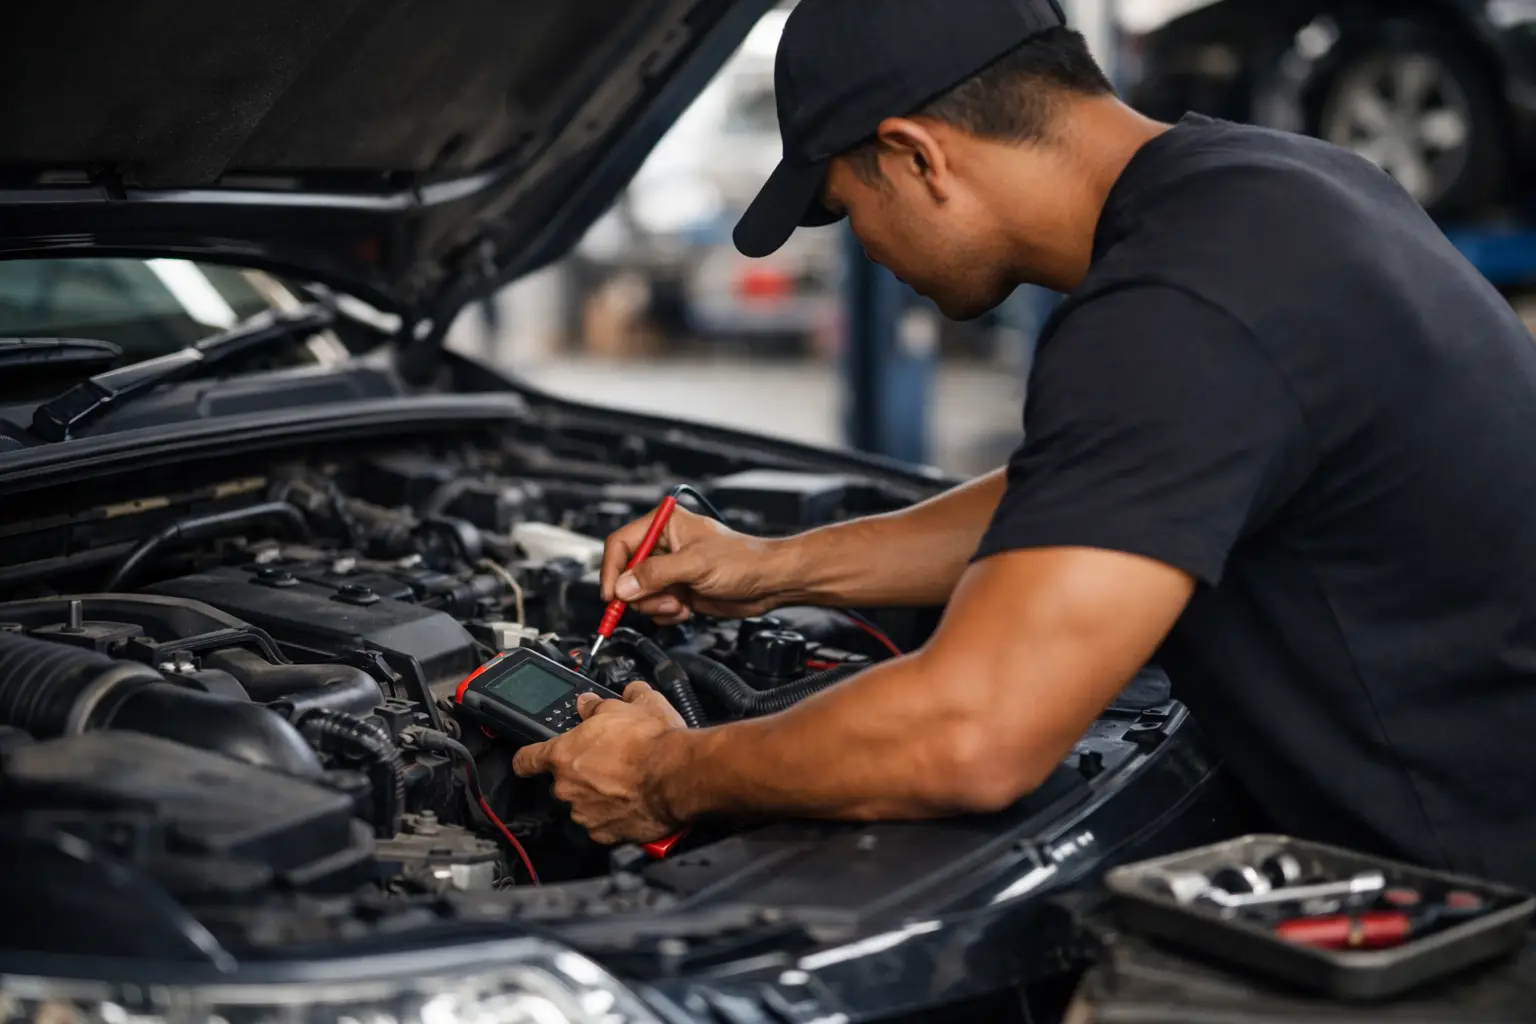

A fridge that stops cooling overnight or a starter battery that goes flat after a weekend away usually points to one issue: the auxiliary battery is not being charged or isolated properly. This battery isolator installation guide explains what the system does, what a safe installation involves, and when it is smarter to call a qualified auto electrician.
A dual-battery system can make life easier for 4WD owners, tradies and campers. It lets you run accessories such as a fridge, work lights, a UHF radio or a camping setup without risking the battery needed to start the vehicle. But it only works properly when the isolator, wiring, fuses and battery type are matched to the vehicle and the job.
What a battery isolator actually does
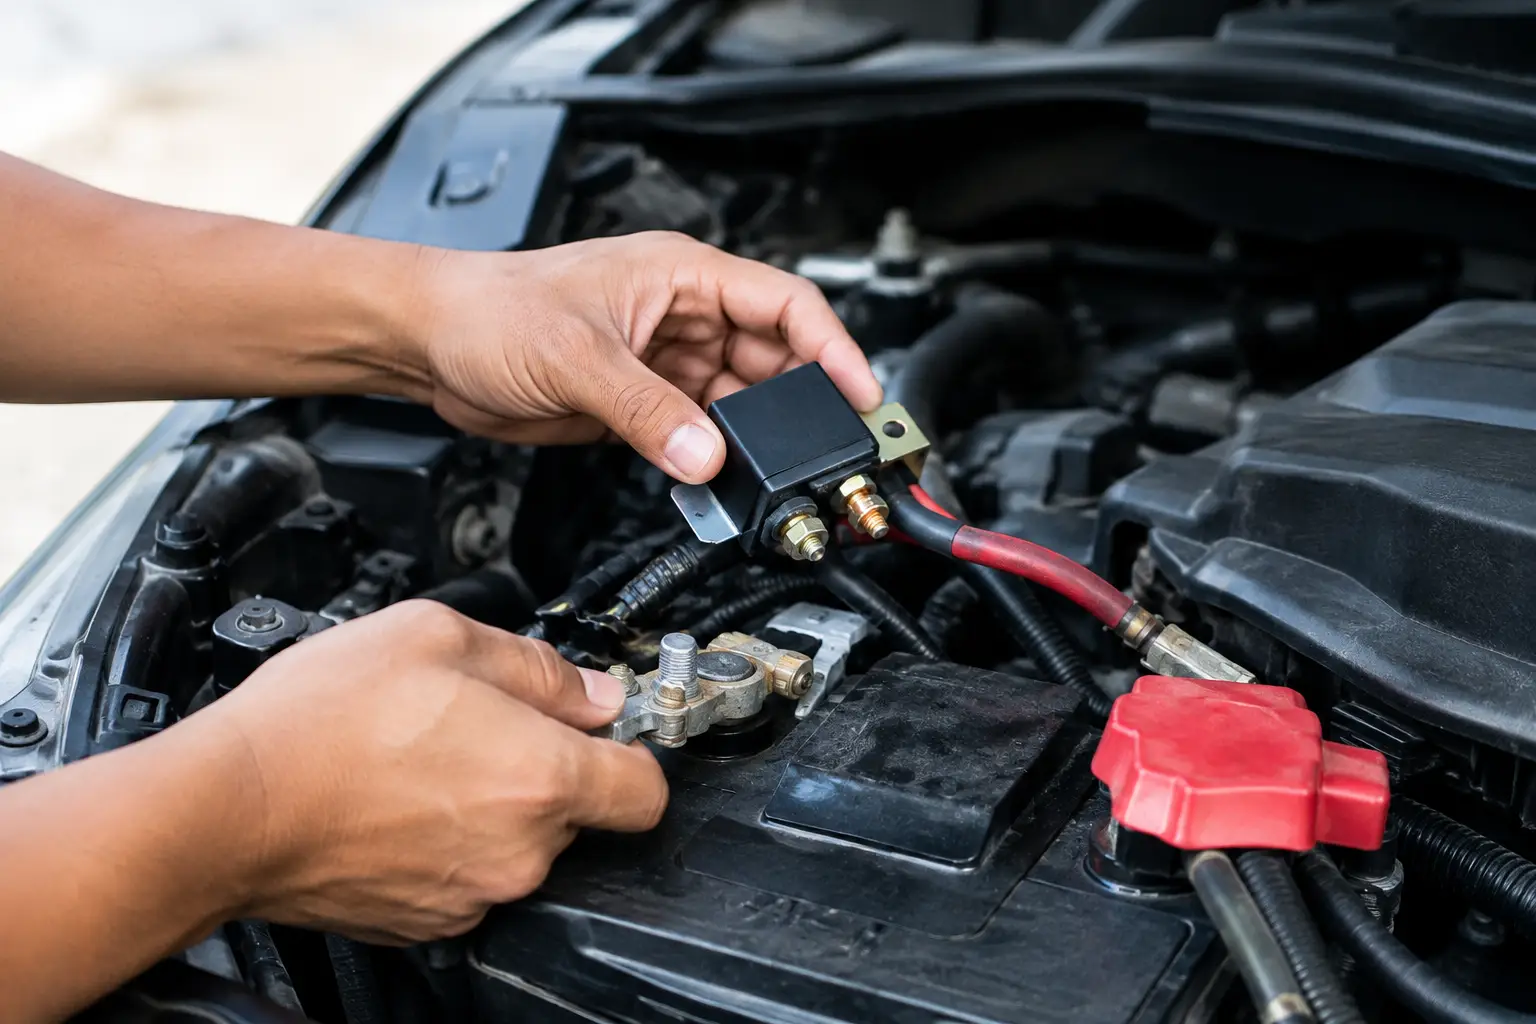
A battery isolator manages the connection between your starting battery and auxiliary battery. When the engine is running and the alternator is charging, the isolator allows charge to flow to the auxiliary battery. When the engine is switched off, it separates the batteries so accessories cannot drain the starter battery.
The result is simple: you can use power at camp or on site and still expect the vehicle to start. That protection is especially useful in modern vehicles, where a low battery can create warning lights, stop-start faults and other electrical problems.
Not every vehicle needs the same setup. An older ute with a conventional alternator may work well with a voltage-sensitive relay. Many newer vehicles with smart alternators need a DC-DC charger instead. A DC-DC charger controls the charging process more accurately and is often necessary where the auxiliary battery is mounted in the rear, the cable run is long, or lithium batteries are used.
Choose the right isolator before installation
The first decision is not where to mount the isolator. It is choosing equipment that suits your vehicle, battery chemistry and accessories. Fitting a basic relay to a modern smart-alternator vehicle can leave the auxiliary battery undercharged, even though the system appears to be connected correctly.
A voltage-sensitive relay is a practical option for conventional lead-acid systems with short cable runs. It is generally less expensive and straightforward. A DC-DC charger costs more, but it is usually the better choice for AGM, calcium and lithium auxiliary batteries, particularly in late-model 4WDs, vans and work vehicles.
Check the auxiliary battery manufacturer’s charging requirements before buying anything. Lithium batteries need a compatible charging profile and may need additional temperature or low-voltage protection. Also consider how much power you actually use. A battery that only runs a small fridge has different needs from one supplying an inverter, compressor, lights and power tools.
Battery isolator installation guide: the safe process
A proper installation starts with a plan, not a roll of cable. The cable route, fuse locations, mounting points and battery position should all be decided before connecting power. Cable must be sized for the current draw and the distance travelled. Cable that is too small creates voltage drop, slow charging and heat.
Before any work begins, disconnect the negative terminal from the starter battery. This reduces the risk of an accidental short circuit while working around live power cables. Keep loose tools, rings and metal objects away from battery terminals.
The isolator or DC-DC charger should be mounted in a dry, secure spot away from direct engine heat, moving components and areas likely to collect water. Under-bonnet mounting is common, but not always suitable for every charger. Some units need airflow and are better installed in a canopy, tub, cargo area or battery box.
The positive cable from the starter battery must be fused close to the battery. This fuse protects the cable if it is damaged or shorted against the body of the vehicle. The auxiliary battery positive cable also needs circuit protection close to that battery. A fuse at one end only is not enough protection for a cable run that connects two power sources.
Run the cable through protective conduit and secure it at regular intervals. Avoid sharp panel edges, hot exhaust components, steering shafts and pinch points. If the cable passes through a metal panel, use a suitable grommet. It may seem minor, but vibration can wear through insulation over time and create a serious fault.
Earth connections matter just as much as positive wiring. A poor earth can cause low charge voltage, unreliable accessories and confusing intermittent faults. Where practical, run an appropriate negative cable back to the battery rather than relying on an unknown body earth. If a chassis earth is used, it needs clean bare metal, a solid fastener and protection from corrosion.
Once the wiring is installed, reconnect the starter battery and test the system properly. With the engine off, the isolator should prevent the auxiliary battery from feeding the starter battery. With the engine running, the system should begin charging according to the isolator or charger settings. A multimeter test is useful, but a proper test should also check voltage under load.
Common mistakes that cause flat batteries
Most dual-battery faults are caused by installation details rather than the isolator itself. An oversized fuse does not make a system safer. It can allow a cable to overheat before the fuse blows. Likewise, a cheap battery terminal connection may look fine at first but loosen with vibration and cause charging problems later.
Another common issue is installing a battery isolator without accounting for a smart alternator. These alternators can reduce voltage once the starter battery is charged, which may stop a basic relay system from charging the auxiliary battery fully. The fridge still runs for a while, but the auxiliary battery never receives enough charge to recover.
Accessory loads also need to be realistic. A large inverter can drain an auxiliary battery quickly, particularly if it is powering high-draw appliances. Battery capacity, solar input, driving time and daily consumption all need to work together. There is no single dual-battery setup that suits every vehicle.
Watch for warning signs such as a hot cable, a blown fuse, a burning smell, dim accessories, corrosion around terminals or a battery that loses charge after short drives. Switch the system off if you notice heat or damaged insulation. Continuing to use a faulty high-current circuit can damage the vehicle or create a fire risk.
When professional installation is the better option
A simple system may look like a weekend job, but modern vehicle electrical systems are less forgiving than they used to be. Incorrect wiring can affect battery sensors, vehicle electronics, warranty requirements and safety systems. This is particularly true on newer 4WDs, vans and vehicles with lithium batteries or aftermarket canopies.
Professional installation is worthwhile when you need a DC-DC charger, a rear-mounted battery, solar integration, an inverter, multiple accessory circuits or fault finding on an existing setup. A qualified auto electrician can test alternator output, battery condition and voltage drop before fitting components, rather than guessing which part has failed.
If you have searched for an “Auto electrician near me” after finding a flat battery before work or a trip, mobile help can save you the trouble of driving to a workshop with an unreliable electrical system. For drivers using the search term “Auto electrician Blacktown“, Ray’s Auto Electrical can assess dual-battery charging faults and carry out practical on-site installations across Sydney.
A well-installed isolator should fade into the background. Your accessories keep running, your auxiliary battery charges properly, and your vehicle starts when you need it most. If your setup is not doing all three, have it checked before the next long drive.